git workflow trial environment
git is an unbelievably powerful tool which is unfortunately rather picky in choosing its friends. Documentation is available in copious amounts and this blog article adds to the mountain.
Unfortunately, the documentation out there always assumes the ideal case: A small project, a handful of colleagues who are motivated and doing the right thing, a workflow agreement that matches the work to be done and no mistakes. Reality is different, and so you might find yourself wedged in broken workflows, surrounded by unwilling or incompetent cow-orkers and/or a git repository that has grown historically and still is carrying the burden of misguided work of decades.
In this blog article, I'd like to introduce you to my way of trying things with git. It allows you to easily do things in the right and in the wrong way while immediately seeing the results of your actions. Let me know whether it's of any help for you to grok git (which I have not fully managed yet).
Your new best friend is
git log --graph --oneline --decorate --all
and here is what it does:
- git log - it shows the git log of your repository
- --graph - Draws a text-based graphical representation of your history. Much like the nifty graphs in the git man pages and the literature, but top-down instead of left-right
- --oneline - Shorten the commit IDs and print only the title lines' commits
- --decorate - adds the names of refs (like tags, branches) to your commits.
- --all - Show all commits, not only the ones leading up to your current working copy
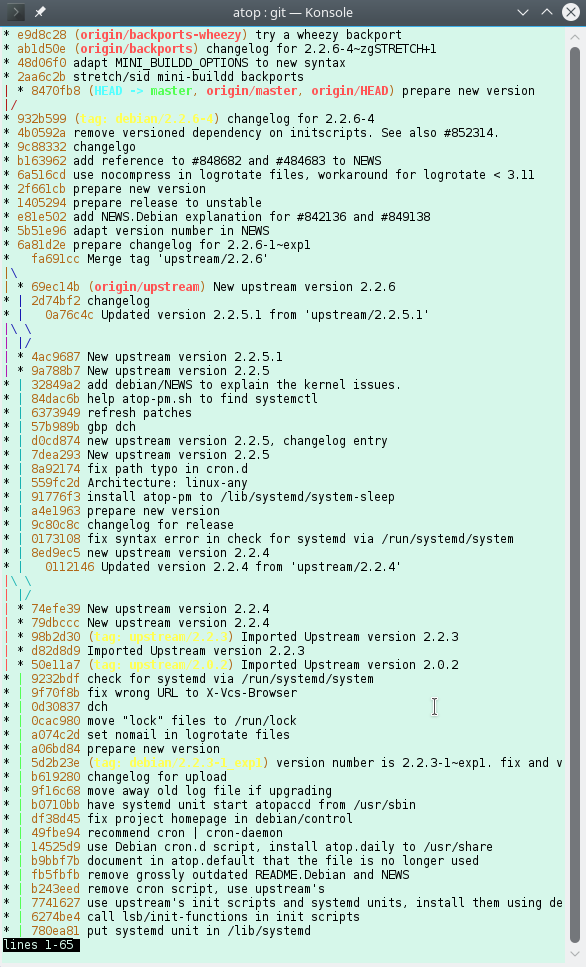
This is a sample output from a rather simple repository:

When you're actively trying things, use this in another window:
watch --color git log --graph --oneline --decorate --all --color=always
This gives you the first page of your git log, refreshed once every two seconds, in color. watch --color allows color codes to get through, --color=always tells git to use colors even if it is not directly talking to a terminal. This is a really nifty help since you'll immediately see the results of your actions.
Now to the core of the trick, the shell script "tgit" for test git.
#!/bin/bash

cmd()
{
  echo "\\$ $@"
  "$@"
}

case "$1" in
        n) ;;
        ""|f)
                if ! [ -d .git ]; then
                        cmd git init
                fi
                DATE="$(date +%H:%M:%S.%N)"
                FILE="${2:-work-$DATE}"
                echo echo $DATE \\>\\> $FILE
                echo $DATE >> $FILE
                cmd git add $FILE
                cmd git commit -m "$FILE: $DATE"
                ;;
        *) cmd git "$@" ;;
esac
echo "---"
git --no-pager log --graph --oneline --decorate --all

exit 0
This is what it does:
- regardless of its parameters, it will output the repository status with git log ... to the console before terminating. This invocation does not use a pager to return you immediately to your prompt so that you still can see the result of your last operation while typing the next one.
- if invoked with a single parameter "n", it will just output the repository status.
- if invoked without parameters or with the parameters "f filename", it will append the current timestamp to the given file (or to a new file with the timestamp in the file name), add the file and commit it. If the current directory is not a git repository, it will git init it. This allows you to "do some work" in the repository quickly to be able to see commits. A new file being used every time prevents merge conflicts, while using f with the same filename repeatedly allows you to force merge conflicts.
- in all other cases, the parameters are taken as parameters to a call to git.
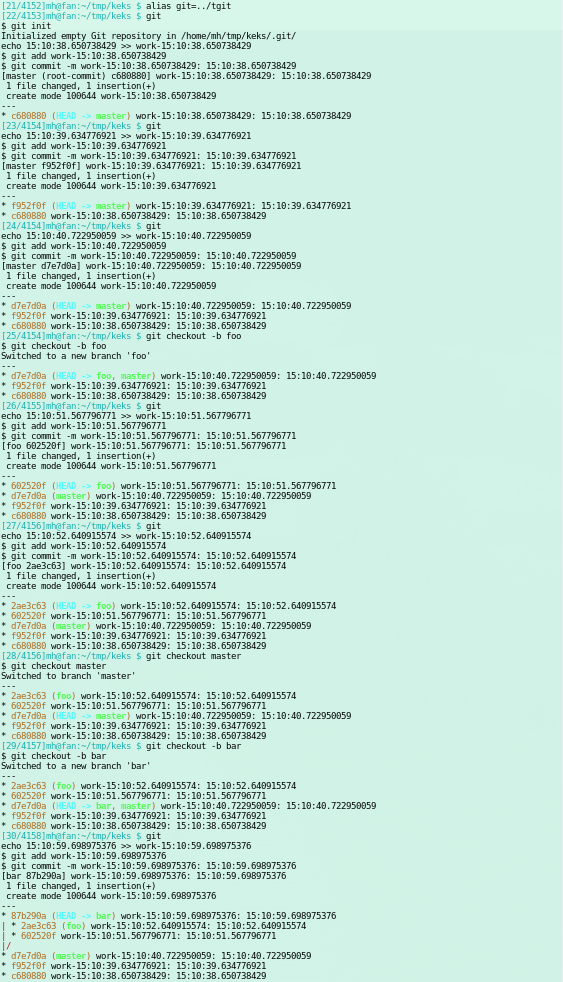
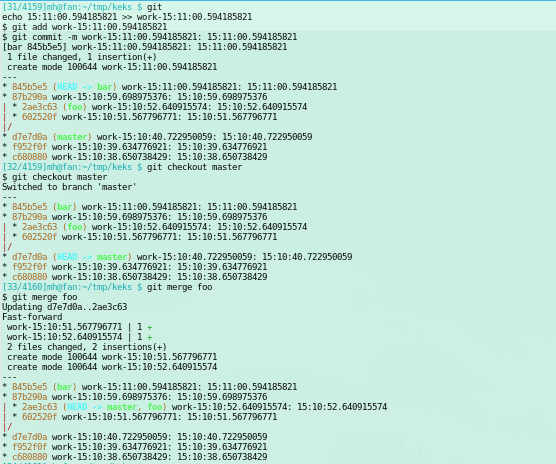
If you alias git to tgit, you can use the script as if it were a git binary so that your finger memory doesn't get confused, with the addition that you can easily create a simple commit and that you see the results. The following two screenshots show a simple session of a new repository, two branches, and a merge.


Comments
Display comments as Linear | Threaded